


I don't like to pay more than I need to, especially for services that I don't use as frequently. I classify emails in this category of services.
It's not that I don't deem emails important, far from it. I do use emails, but so far in my experience most of what arrives in my inbox are "valid spams" and few worthwhile emails that in a perfect world should have occupied all of that space. I am partly to blame for that.
Well, why am I talking about paying for email services while "free" options such as Gmail exist?
To clarify this point, I am talking about services offering professional email addresses e.g my-name@my-business.com, and as far as my experience goes, those do not come for free.
I have used a couple of paid professional email services, mostly paying at least twice what would cost to buy a domain, a price range that I would realistically expect email services to be on par with given the current JamStack revolution where hosting low volume websites is mostly free but the cost of a domain. But as you would assume from my opening point I'm frugal, so these services weren't sound for me, essential as emails are.
Why professional email addresses?
Using professional email addresses carries some advantages that free options don't. Not only would they raise the professional perception on your clients' side, but they also give your business or brand credibility. They instill more trust in your clients making them take you seriously.
Imagine if your domain hosting service (e.g "dhosting") contacted you using the address recurring_payments.dhosting@gmail.com, what would your reaction be?
Just to clarify, I do concede that for a professional, not a business, free email services such as Gmail, Hotmail, and Yahoo as email services are okay. It's just that they don't help you stand out as a professional, something a professional email address would.
In the spirit of adventure and "reinventing the wheel" inspired by my move to Cloudflare early this year, I am going to show you how to set up free professional/custom emails for your domains using Cloudflare and Gmail.
Setting Up Cloudflare
The basic assumption for anyone reading this post is that you have a domain managed through Cloudflare's domain registrar as is the case with the instructions below. If that's not the case I suggest reading this article on how to transfer your domain to Cloudflare before proceeding. You also need an active Gmail account.
Having those two, the following instructions will help you set up Cloudflare.
Log in to your Cloudflare account and on the dashboard select the website you'd like to add a custom domain to.

Select Email from the side menu, go to the bottom of the resulting Email Routing page to the Destination addresses section and click on the add destination address button. Proceed to add your destination Gmail address and Save.
 Cloudflare will need to verify that you own this email address, hence will send a verification email, open the verification link inside the received email to complete this step.
On successful verification, you will be redirected to Cloudflare and see the following page.
Cloudflare will need to verify that you own this email address, hence will send a verification email, open the verification link inside the received email to complete this step.
On successful verification, you will be redirected to Cloudflare and see the following page.
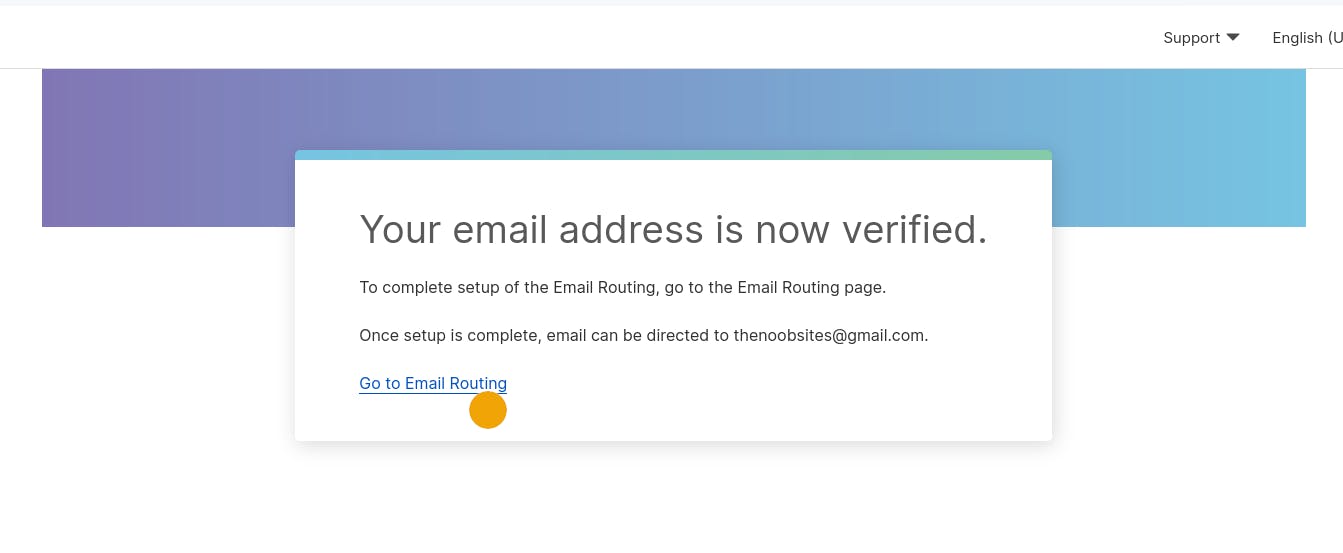 Click on "Go to Email routing" to be redirected back to the Email Routing page. You will see verified in front of the email you just added.
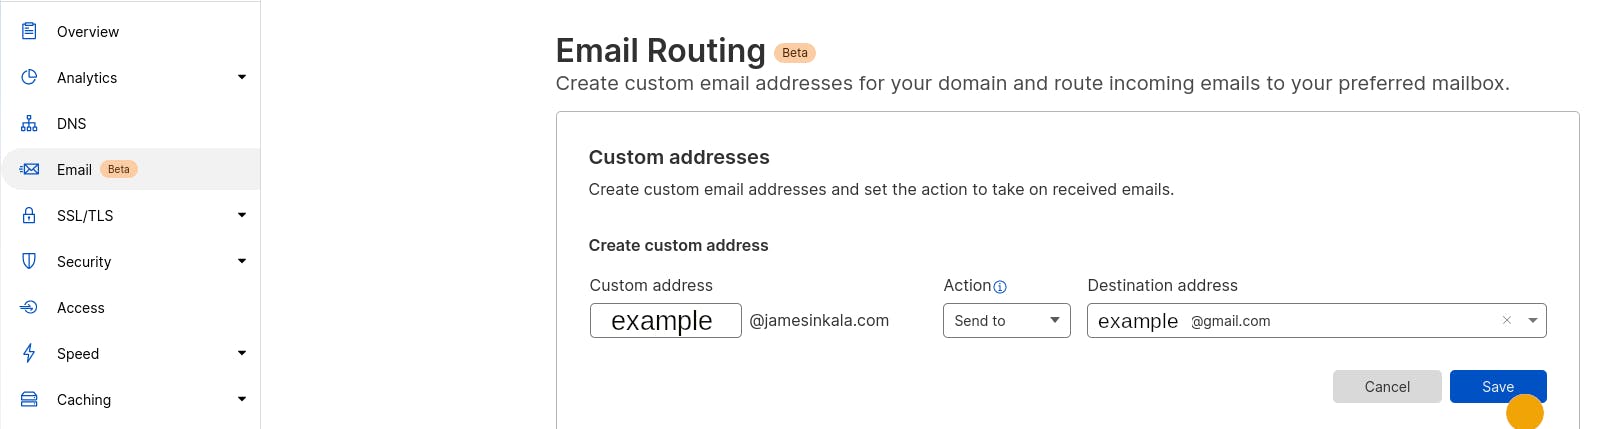
Go back to the top of the Email Routing page to the Custom Addresses section and click on the create address button. Fill in your custom address in the presented form, providing just the username (the first part before @) on the custom address field, select "Send to" on the action field and choose the previously added Gmail address as the destination email. Click Save.
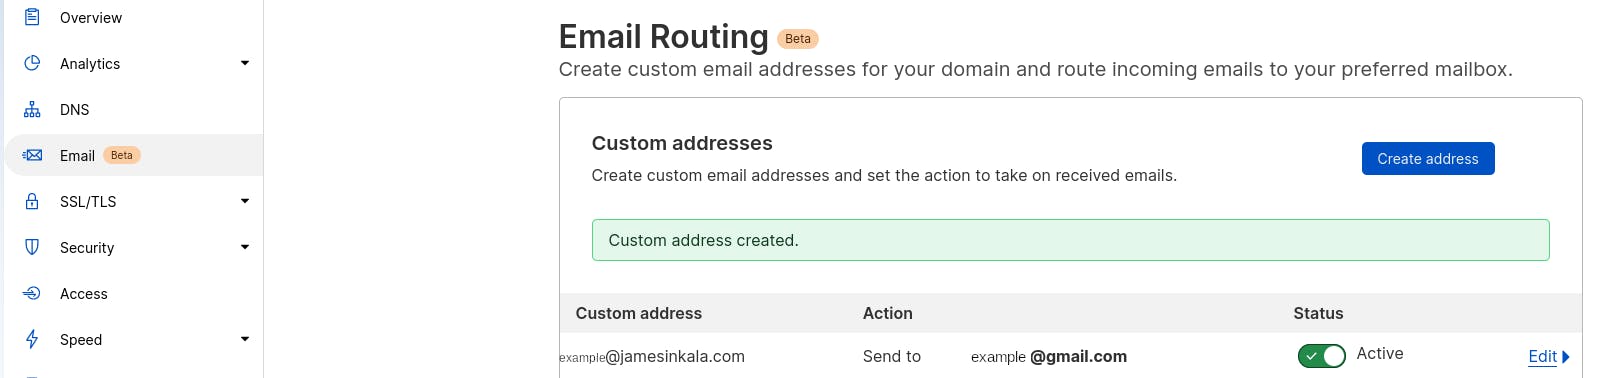
 On success, you will see the message "Custom address created", with the custom address listed under the Custom addresses table and the status column toggled to "active".
Next, Cloudflare will take you through instructions to set up MX DNS records for your domain name, follow them, and when completed you'll end up with something like this.

Setting Up Your Gmail Account (send mail as)
Having added our Gmail address as a destination address, next, we need to be able to send emails as our custom address while inside Gmail.
To do this, we need to add it as one of the email addresses allowed to send emails within Gmail.
To be able to do that we need to add an App Password for our custom email address. Google's App Passwords are passcodes that give less secure apps or devices permission to access Google accounts. A prerequisite to adding an App Password is setting two-factor authentication for the Google account in question.
So, let's go through the steps for preparing our Google account to work with our custom email address.
While logged into your Gmail account, visit this link - Gmail 2FA to enable two-factor authentication.
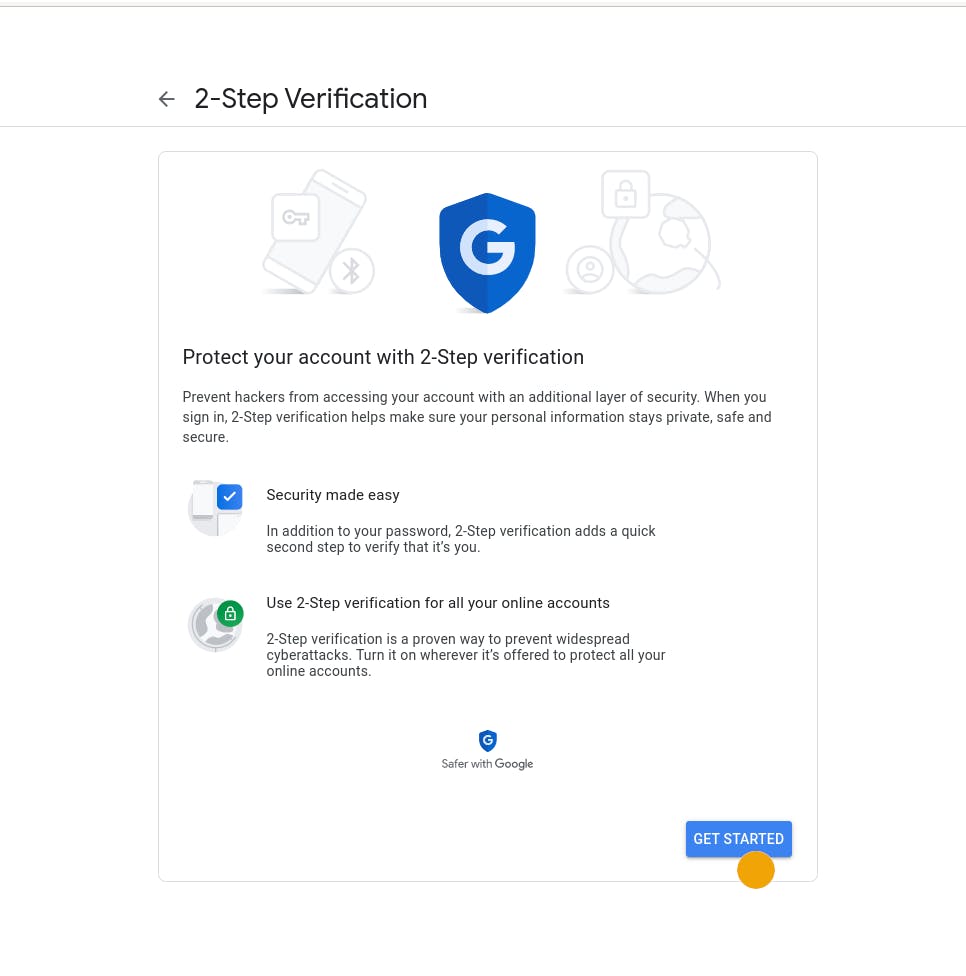 Click on "Get Started" and follow the instructions to complete this step.
Next, proceed to add the app password for the custom email we created by visiting Google's app passwords site. After logging in, on the resulting form, select "Mail" under the drop-down field for "Select app", on the "Select device" drop-down field select "Other", and when prompted to "Select the app and device you want to generate an app password for" fill in the custom email address we created on Cloudflare. This will pose as a reference for this specific app password in case we add more custom emails to forward to the same Gmail Account in the future.
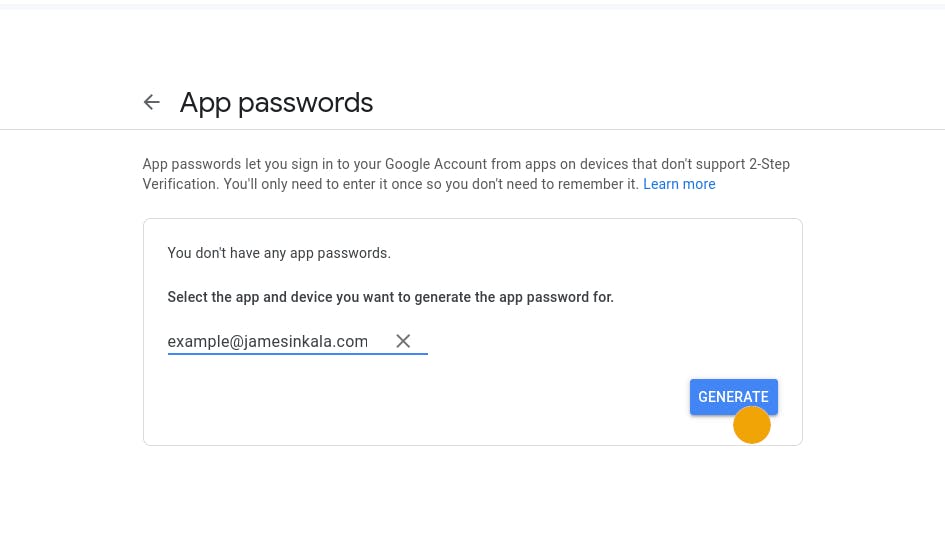 Click the "Generate" button and store the generated password somewhere safe as we will need it in the following step.
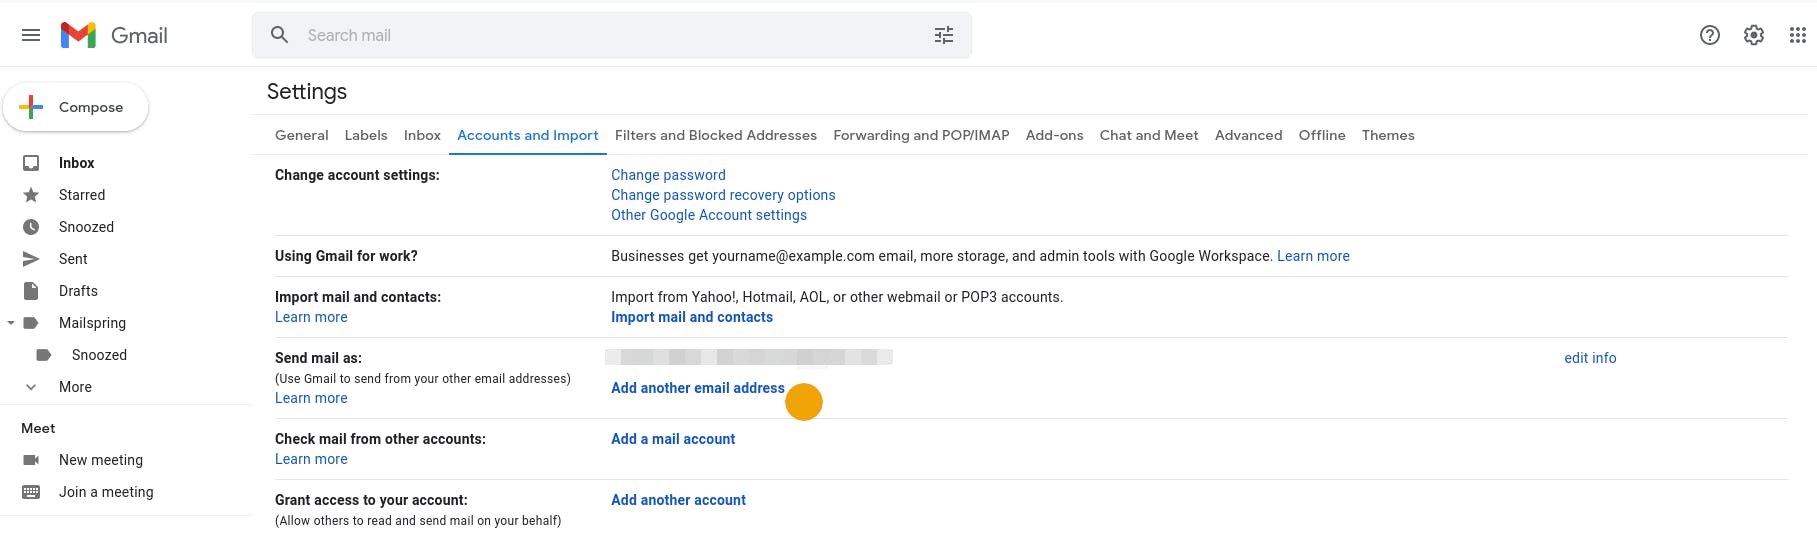
Back inside your Gmail account, open the settings page by clicking on the settings icon on the top right. Inside the settings page, open the Accounts and Import tab. Under Send mail as: click on the "Add another email address" link.
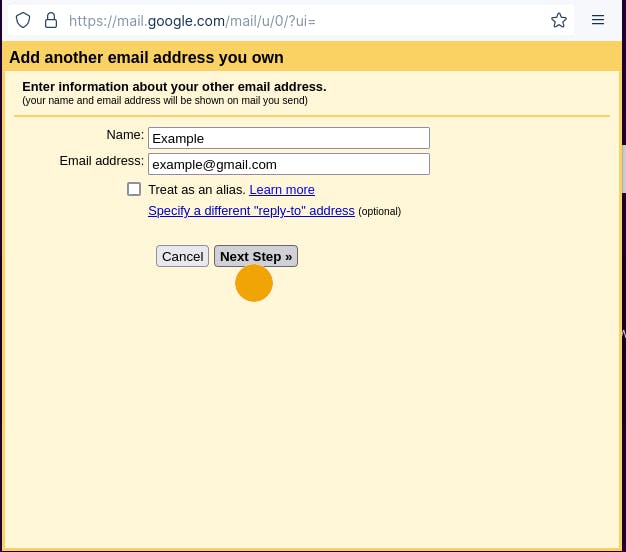
- On the resulting pop-up form, fill in the custom address we created on the "Email address" field, on the "Name" field fill in a referential name for this account and make sure the "Treat as alias" field is unchecked. Click on the "Next Step" button to proceed.
- On the next part of the form, fill in "smtp.gmail.com" on the "SMTP Server" field leaving the port at 587, and fill in the username part of your Gmail address (the part before the @ sign) on the "Username" field. Finally, fill in the password we acquired from the App Passwords step on the "Password" field. Leave the connection security at TLS and click on the "Add Account" button.

On the next part of the form, you will be presented with a verification request resembling the form below.
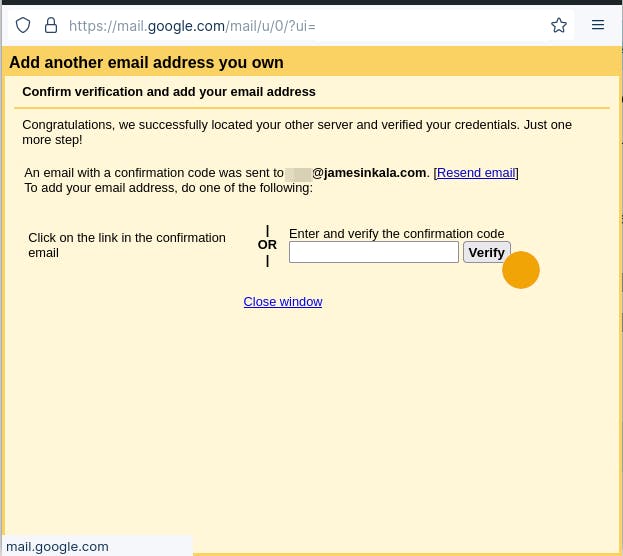
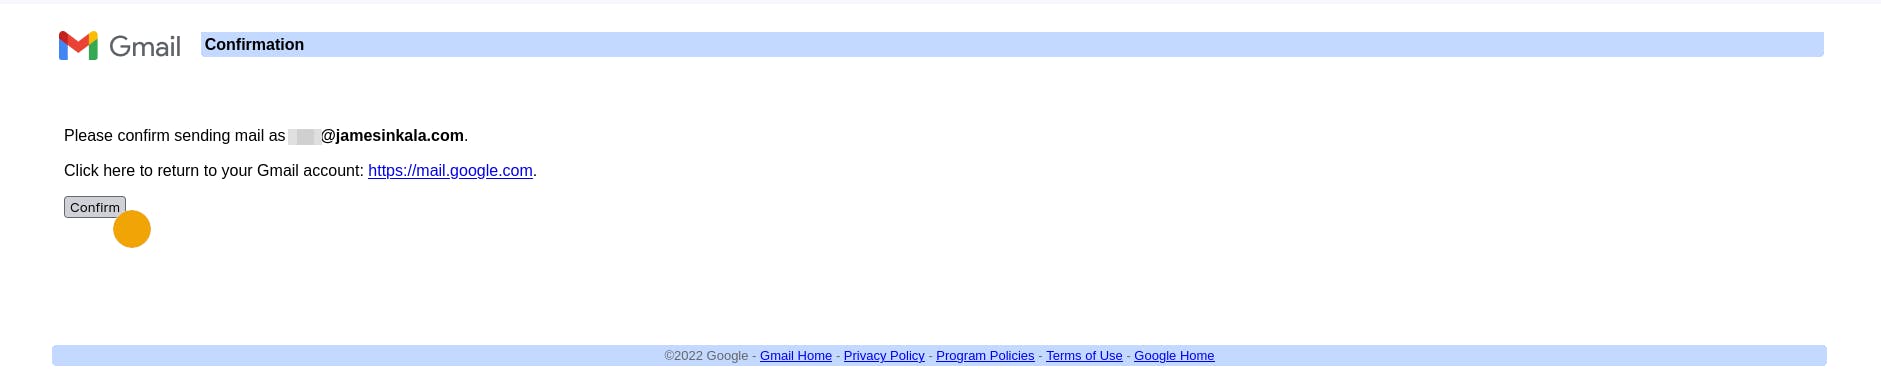
- Go back to the inbox of your Gmail account and open the received verification email. You can choose one of two ways to complete this verification step, the first being, clicking on the verification link provided within this email which will take you to a page that requires you to click on a "Confirm" button.
 The second method involves you copying the verification code provided within this email, filling it on the verification field provided in the previous step, and clicking "Verify".
This completes the configuration on your Gmail account to start receiving emails sent to your custom email.
Sending and Receiving Emails
After configuring your Cloudflare and Gmail accounts, you can now start receiving emails sent to your custom email and send emails from this address.
To send emails using this email address, log in to your Gmail web client or mobile app and compose a new email. On the from field of your new email, click on the email address to see a drop-down that now includes your custom email. Select your custom email, compose, and send your email.
All emails sent to your custom email address will be routed to your Gmail account. Opening these emails, you will see that they have been explicitly addressed to your custom email by viewing the mail to field.
Replying to emails sent to your custom email address will automatically include it as the from address.
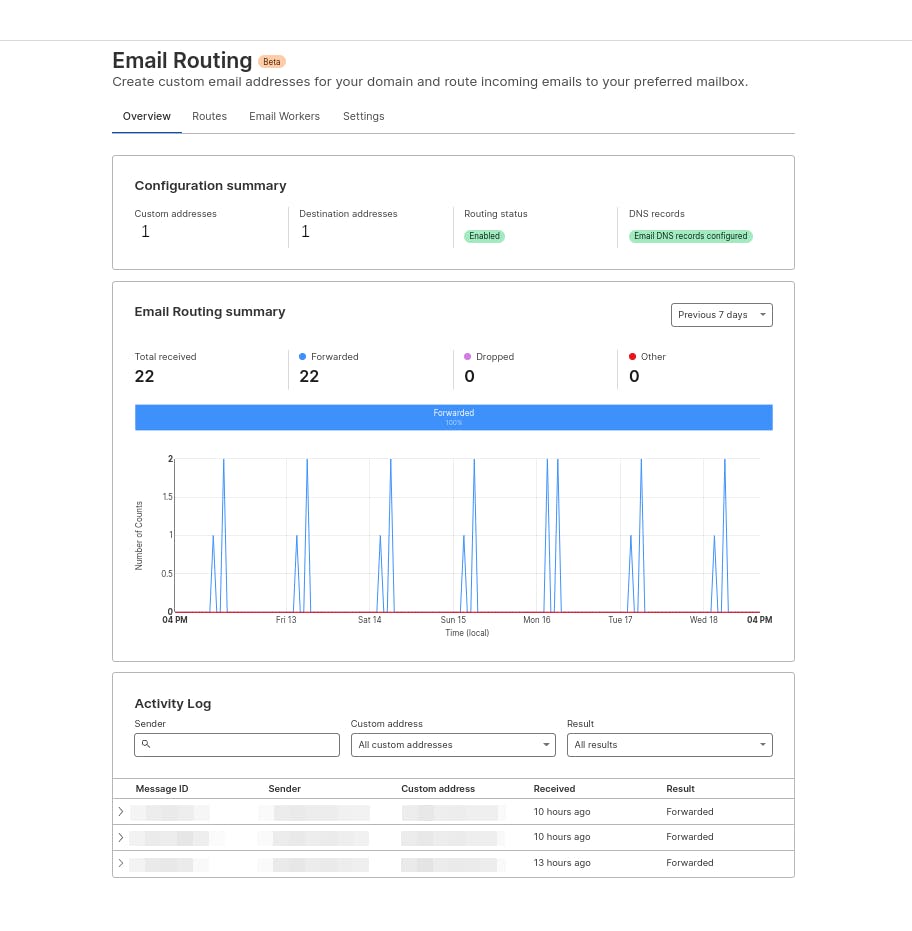
At the time of writing, Cloudflare's email routing service is still in beta. So far it has been working seamlessly for me, more features keep on being added and it can only get better.
Below is the email routing service's dashboard displaying some stats.
Trade-Offs
Of course, there are some trade-offs to going full thrifty. You just have to examine if the cost of complications that would arise, if any, are more expensive than the most affordable service out there that wouldn't involve them.
In our case, the major trade-off if it can be categorized as such is, to respond to incoming emails while keeping your custom domain on the mail from field, you need to exclusively use the Gmail clients, i.e the Gmail mobile app on mobile phones or the web app.
At the time of writing this article, I have not found a desktop email client or mobile app that would let you sign in using your Gmail account and use an alternative email address in the mail from field while composing emails, they all include the email used in the initial setup, which happens to be the Gmail account. If anyone knows of one, I'm all ears.
Personally, the Gmail apps have been my default emailing clients, so in retrospect, I do not count this as a trade-off.